How to frame your Chinese art
Step 1
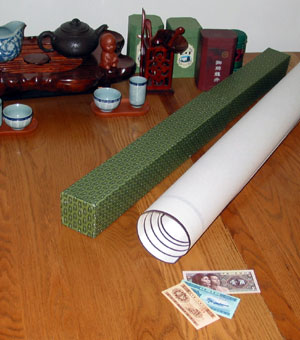
You just got your package from China, full of beautiful artwork all rolled up.
Not to worry, I will hold your hand...
Take your artwork to the biggest table that you have in your home, and get ready to be dazzled as you unroll it.
IMPORTANT NOTES:
Make sure your table is VERY clean first!
Also, always wash your hands before handling your painting. The oils on your fingers can be acidic, and touching the art with unclean hands can leave residue that accelerates the aging of your artwork. Some people even wear thin cotton gloves when framing.
Step 2
Using some heavy books to hold down the corners, carefully unroll your art on your table.
Leave it this way for about 24 hours. The next day, your art will lose its desire to roll up. It will also be fairly flat, and easier to handle as you begin the framing process.
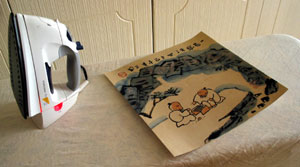
Step 3 (Optional)
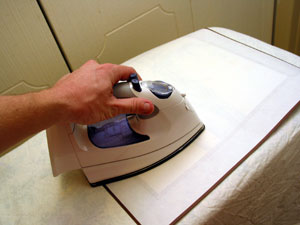
If you find a wrinkle, or accidentally make one in your artwork, don't be afraid to iron it out.
There is not a special technique to this. To start, set the iron to medium heat.
Then, hold the art flat before you apply the iron (to avoid putting any creases or new wrinkles in the artwork).
It only takes a light touch!
Just lightly allow your iron to float along the back of your art. DON'T PUSH DOWN on your iron.
If you feel that it will help, you can iron the artwork face up, it will not hurt the painted surface.
If you get into trouble with this, please contact me. You may be surprised at how we can help you out if you have some problems.
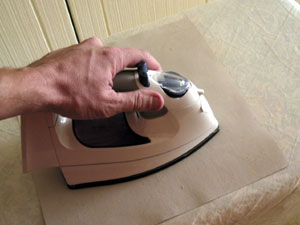
If you have one of our "philosophy art" pieces. You can be aggressive with the steam and heat needed. This type of painting can take the extra heat because it is created using a very durable and thick handmade paper.
Notes
At this point, your art should be fairly flat and wrinkle free.
Please note that even a professional framer might not be able to get watercolor artwork to be completely wrinkle-free. This is the nature of watercolor art - especially larger pieces.
If you take a close look at watercolor paintings on display in museums you might notice a slight wrinkle or two showing, but it's not obvious to the casual observer.
NOBODY WILL NOTICE IT
(except anally-retentive people, and possibly Martha Stewart).
If you want a virtually guaranteed wrinkle-free mounting, you should ask your professional framer to
"dry mount" your artwork.
Dry-mounting is a process of bonding your artwork to the mount board using a
vacuum press - it's not as expensive as it sounds, and actually costs the same
as regular "museum mounting" (If you are wondering, "museum mounting" just means attaching the artwork to the mount board of the frame with some acid-free tape - this is what you are learning to do on this webpage).
Step 4
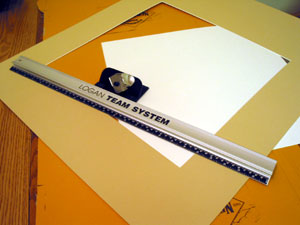
This shows a typical matting cutter. Instructions are included with the cutter if you choose to invest in this tool.
My goal is not to teach you how to cut matting.
I suggest that you go to an art & frame supply store and have them professionally cut a piece of matting. Just take your art to the store and have them measure your art and cut the custom matting for you.

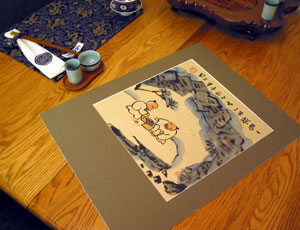
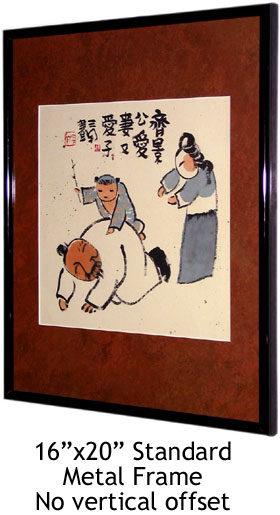
Here is a philosophy art piece with custom-cut matting to fit this art into a 16x20 frame.
Note
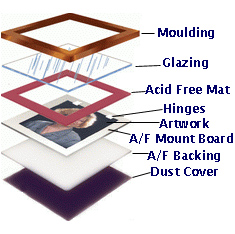
This shows a view of what your are putting together. Always use "acid-free" (A/F) products to preserve your art.
The dust cover is optional. And with "off-the-shelf frames", some people will combine the role of the mount board and backing, though I think it is better to keep them separate.
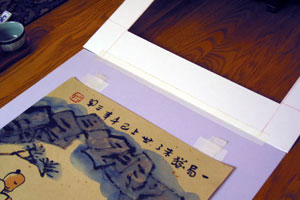
Step 5

This is what you are assembling.
The artwork is attached to the mount board with some acid-free cloth or paper tape.
These pieces of tape are referred to as "hinges" by the framing industry when used to mount art.
After you create this assembly, it is folded closed, and placed in your frame against the glazing (glass).
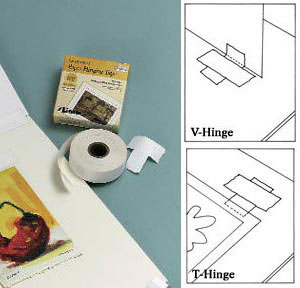
There are two types of hinges that you can make. The V-hinge folds back on itself when you lay the art against the mount board.
I like to make T-hinges, as you just lay the art directly onto the tape, and you are done.
Note that the horizontal piece of tape is face down to hold the hinge to the mount board. While the vertical tape is face up which allows it to stick to the back of yourart.

Measure exactly where your hinges should be placed to allow about 1/4" of the "face up" or "vertical" tape to attach to your artwork. Then attach them to the mount board.
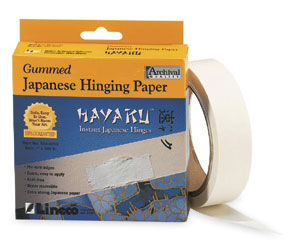
This is one kind of acid-free tape
that you can buy at almost
any art-supply store.
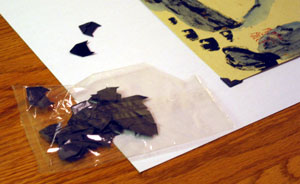
Another option is to
use "photo corners" to mount your art.
Step 6
Attach your art to the hinges
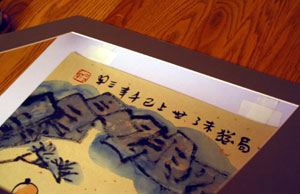
Check to see that when you close the assembly, the art is centered in the matting window, and is in the positioned where you want it.
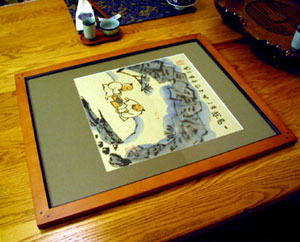
If all is well, your complete assembly should look like this.

Here is another example which shows how you can use the traditional Chinese silk border as a "double matting". (Most of our art comes mounted to a silk border).
Step 7
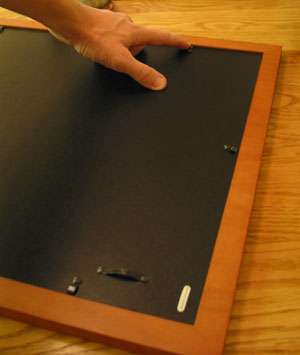
Make sure the inside of the glazing (glass) of your frame is clean. Then place your matting, art, and mount board assembly into your frame, and secure the backing.
Take a look at your handsome finished product. Make a final check to see that everything is how you like it.
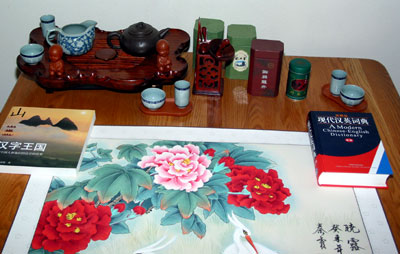
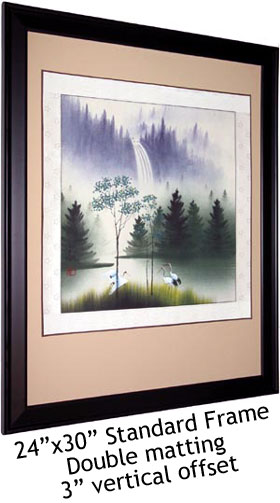
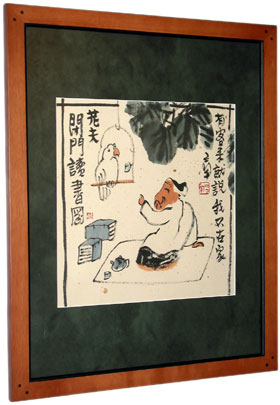
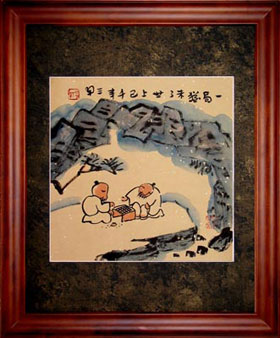
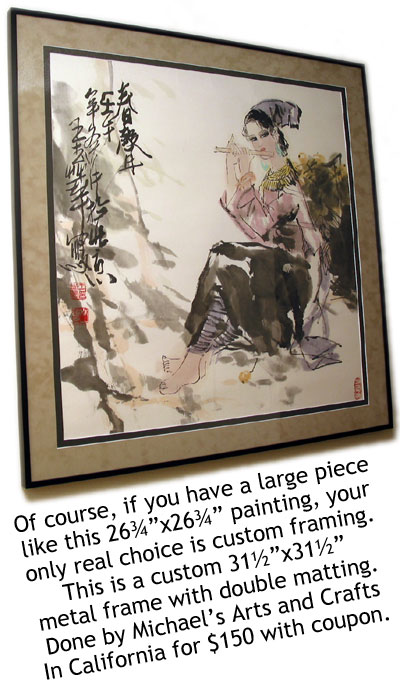
Finished Products / Ideas


Still have questions? Contact Me